Not everyone can boast of designer talent. Perhaps the poor design and inconvenient interface of open source projects is the main reason why they are not very popular with ordinary users. Open source projects are technically brilliant – they are fast, well tested, and well supported. But without an attractive user interface, you can’t lure.
Perhaps you are one of those people who are afraid of any article with the word “design” in the title. But I’m not going to delve into the concept of interfaces and usability. I think that to create useful products, it is essential first of all to learn to believe in simple design templates.
“Insight of Design”
This step is optional, but it gives maximum returns with minimal effort. A small routine will improve your “design insight”:
- Visit the Dribbble website and sign up for the weekly newsletter.
- After receiving the newsletter, click on the link “Most Popular Shots.”
- Browse the first page of the most famous work examples of the week.
- Bookmark anything you like.
It takes about five minutes a week. After a few weeks, you can return and see a selection of works that you liked. You will probably notice something universal in them, some sort of individual theme – perhaps a specific color scheme or style.
Over time, you will notice a change in trends. In the past, soft shadows and sharp corners were popular. The current trend is vector drawings of people. Start incorporating these trends into your projects. Even if you are not enthusiastic about them, it is useful to remember that effective design appeals to your target audience, and not to you.
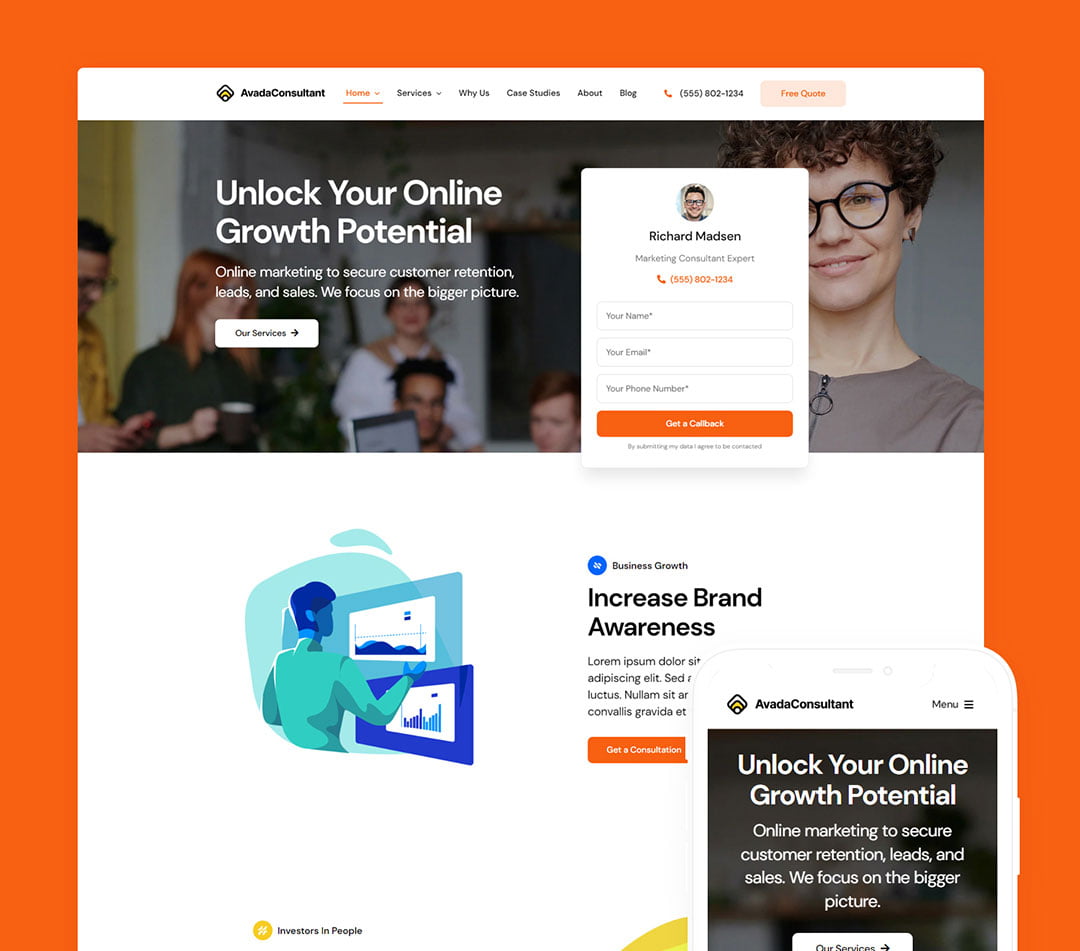
Logo creation
It is a good idea to start a project design with a logo because then this style is transferred to your software and website. Your logo will probably be used on the website, in the application or program.
It should consist of two parts: an icon and a text/title.
Pictogram design
Area. Make sure the picture fits evenly into the square. This is important because it will become a favicon, or possibly an application icon.
Symmetry. The icon should be evenly distributed over the space inside the square. Logos look a little strange if pressed to one side or in some part of the square, there is a lot of space.
Simplicity. This is the most important rule. The icon is never too simple: the simpler, the better. Make sure it reads when reduced to 32 × 32 pixels. At this size, the image will appear on the browser tab. Stick to simple colors: you can use different colors, but only one is better.
Text and title design
Here you have a little more freedom. But I would recommend choosing a pure color, for example, black or dark gray. Let the icon bear the logo, and the font defines the brand. Whatever font you choose for the text, you should probably use it in all the headers of your website/application/software.
Colors
The best and easiest advice is to choose one bright color. The remaining colors should be white or black. Having dealt with this, you can select a palette for everything else (warnings, pop-up messages, and more), as well as several different gray tones.
Usually, I start a project with one color, which I call “starting blue”. You have probably seen this color on millions of different technical websites. Its hex code is somewhere near #2B70F6. After creating the website, do not hesitate to play with shades.
When you have a good grasp of basic color combinations, you can design your own palette using colorbox.io.
Fonts
For starters, it’s useful to know that:
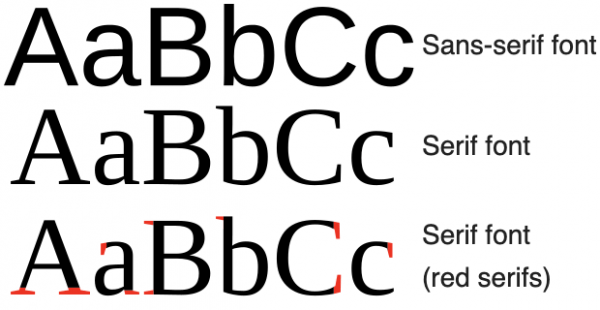
Here I can give three recommendations:
- Try to limit yourself to one or two fonts, a maximum of three, if absolutely necessary.
- A sans-serif font is the safest for headings, it is better if it is bold and symmetrical.
- The main content can be styled with a serif font, but the sans-serif font also looks elegant. The first ones are supposedly easier to read in long paragraphs because the small “tails” on the letters help the eyes cling to the text. But this is more likely to work in print media than on pixel screens.
As I already mentioned, it would be nice to match the font of the title with the font of the logo, but this is not critical.
You will have to experiment a lot with fonts to find the best option that you like. For such experiments, it’s convenient to use the Google Fonts website (if you don’t have an aversion to Google), because you don’t have to think about uploading/downloading a font to try it out. Personally, I’m trying to move away from Google products, so I’m slowly developing a website with the same functionality, except that the fonts are loaded with GitHub.
Pictograms
Try to limit yourself to a few icons. They are not so useful in practice unless they can completely replace some words. A great example is the hamburger icon (three horizontal lines), which completely replaces the phrase “Show menu” in the navigation panels. Honestly, for me, even good designers use icons too much.
Nevertheless, several icons will give the website a more seamless look. Just make sure the icons have a consistent theme: the same stroke thickness; if some are rounded, then all should be rounded; matching colors.
And as simple as possible! The point is to reduce the cognitive load on the user. Try to choose badges with the least amount of detail.
Here are the best free websites that I usually use:
flaticon.com;
thenounproject.com;
fontawesome.com;
icons8.com/line-awesome;
ikonate.com.
Photos and illustrations
Photos and drawings fill the space and emphasize the meaning. What to choose – photos or abstract vector graphics – depends on your preferences, but try not to mix them.
Artwork
Vector illustrations can bring a website and application to life. They are not so crucial for the software (in fact, they will even look stupid in most programs), but they work well on landing pages (landing pages). However, drawings are more difficult to fit into the design. Each abstract image has its own character, so it is not easy to achieve a complete impression for the whole set.
Try to make the website without graphics first, and then as a final step, add a few illustrations if you see spaces to fill.
Really great resources have recently appeared with free illustrations to get you started:
humaaans.com – you’ve probably recently seen these pictures quite often;
undraw.co;
icons8.com/ouch;
avataaars.com.
Photo
Photos are more accessible to pick than illustrations because stock photos are much larger. And if in the future you want to create your own unique design, it is easier to find a competent photographer than an illustrator.
Again, photos are much more effective on websites than on software (probably, of course, but I will mention this fact anyway).
It can be difficult to enter photos into the overall website design – often, it seems that they are hanging in the air. You just need to apply a few little tricks to soften this impression. For example, stretch the image to the full width of the page. Or, if your website has a lot of rounded corners, add rounded corners to your “floating” photos. If shadows are used on the website, add them to the images too.
Placing text on the background of the photo is a little risky because its readability is deteriorating. If you plan to do this, add a very subtle shadow to the text. Alternatively, you can overlay – an intermediate layer between the text and the image. For example, darken the background.
The best websites that I use to search for photos are:
unsplash.com
pixabay.com
pexels.com
Branding
It is important to remember only one thing – consistency. For the product to feel complete, all elements must be consistent with each other:
- Choose one color and use it everywhere. For everything else, use black or dark gray.
- Choose one font and use it everywhere.
- The text size should be the same everywhere, except for the headings. Do not make one paragraph 12px and the other 14px.
- Use a typical style of illustration.
- Align everything. When a person sees something for the first time, it is easier for him to perceive information in fewer “blocks”. To do this, we group and align objects.
Do not fall into the trap of “different designs for different parts of the website.” At the beginning of the design, it seems that each section of the site should look a little different. In fact, the opposite is exact. Try to use the same layouts everywhere. When a person sees something for the first time, a specific cognitive load arises: the brain tries to quickly recognize important information on the page. If the website uses the same layouts repeatedly, the cognitive load is reduced, users will feel discomfort only once.
Using the CSS Framework
If you are creating a website, I recommend using the CSS framework and the JS framework separately. Avoid “closed” frameworks like ReactStrap. Instead, choose CSS frameworks with classes. When you master them, your projects can be implemented on anything: HTML, React (more on development on it here), Vue, or any other framework.
I would also recommend sticking to “utilitarian” CSS frameworks. Choose Bulma or Tailwind, spend a day studying them. It will pay off in full – prototyping with any of them is faster than designing, and then implementation from scratch. Avoid using the style tag. Just apply classes everywhere – from layout to appearance.
Design tools
Figma. That’s all you need. Forget Sketch and Invision. Figma has a vector editor, clickable prototypes, comments, and collaboration. And it’s free with some limitations: three projects, two editors, a story in 30 days. Take some time to study — video tutorials are beneficial here — and then do all the design work there.
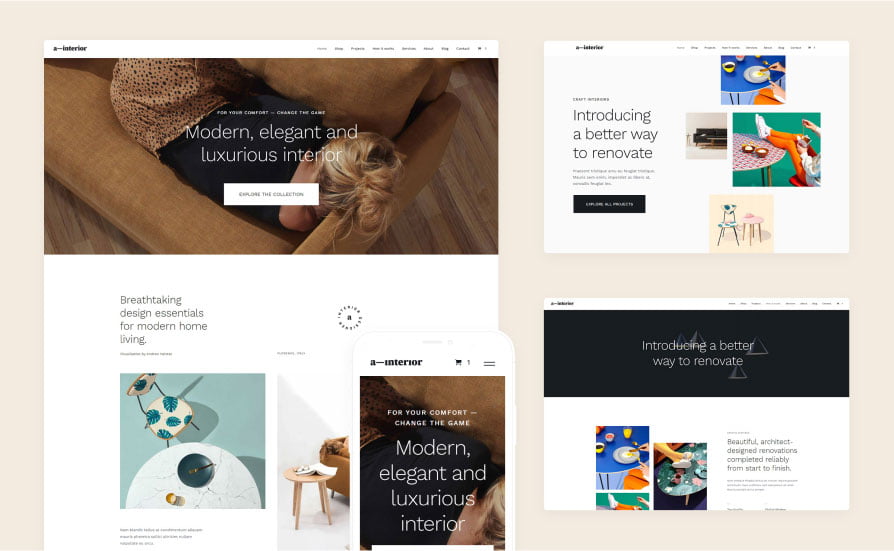
Figma online service for developing interfaces and prototyping with the possibility of real-time collaboration. A source.
I’m really a fan of Figma, and for a reason. In the past, I tried many other tools, none of them proved to be so convenient. If you work with photos, you may still need Photoshop, but the developer usually processes photos by compression and resizing. It does not require special tools.
Additional Information, Tips, and Tools
Discussion of this article on HN. There are a lot of great tips in the comments.
“Landing Pages” by Julian Shapiro”: the best guide I’ve seen to create landing pages (landing pages). One additional tip: if you place a catchy initial section (hero-unit) at the top of the page, set the height to only 70vh and the Next button (More, More) at the bottom. This means that the section will occupy 70% of the screen in height. Too many sites set the height value to 100vh, and the user does not immediately realize that the page can be scrolled down.
Design tools for everyone: a huge list of tools. It scares me a little, but if you can comb the whole list, then there is something useful for everyone.
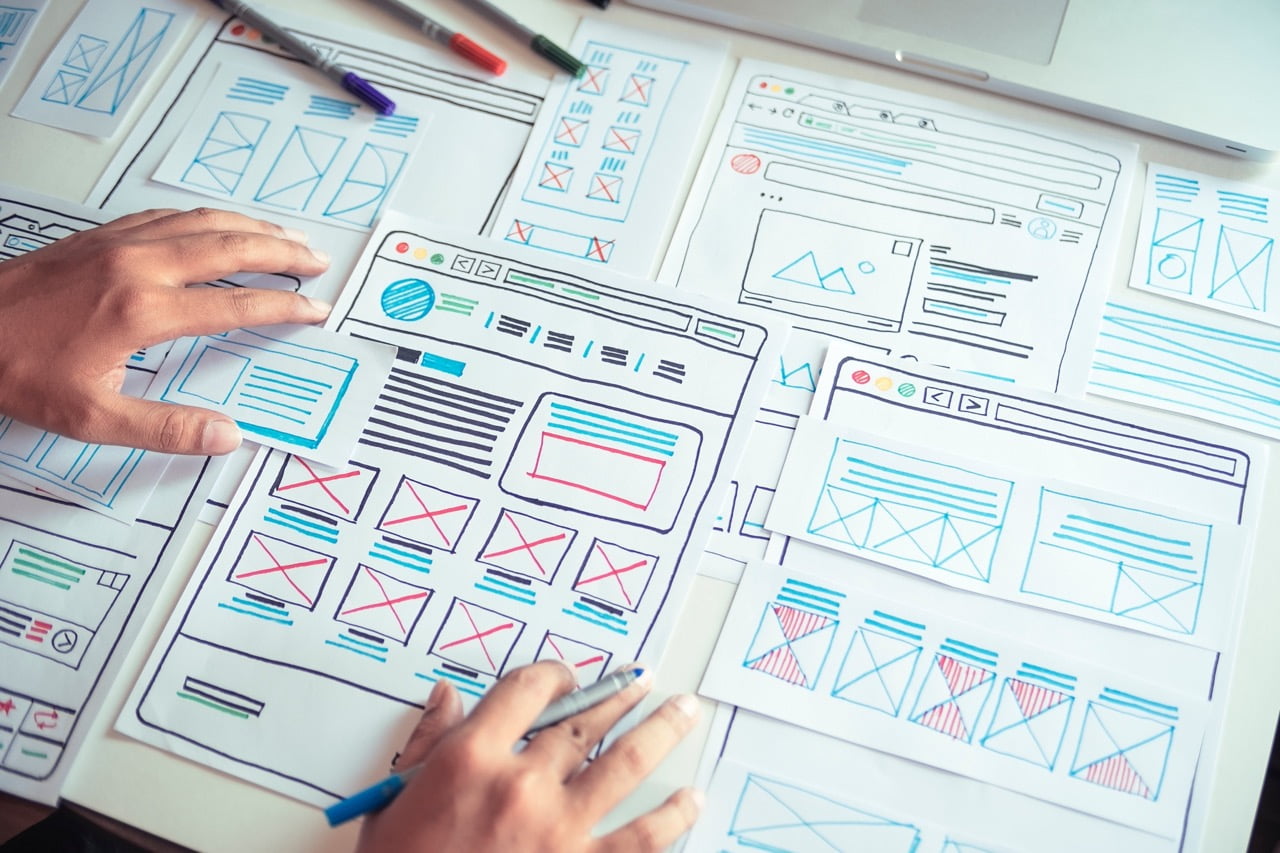
Printable Mockups: An awesome resource for creating and printing user interface layouts and wireframe templates.
Sometimes your CSS layout ideas go beyond the scope of Bulma or Tailwind. For the training layout on the Grid, you can recommend the resources testdriven.io/blog/css-grid and every-layout.dev.
